


An Introduction to Manage
- How to Login to Manage
- An Introduction to Manage
Manage is Liquid Web's Account and Cloud Management Portal. From Manage, it is possible to control your servers and services, whether your deployment is a single Storm® VPS (Virtual Private Server), or a combination of several Liquid Web Dedicated servers or other Clustered servers and services. Manage will help you administer your private network, VPN (Virtual Private Network), CDN (Content Delivery Network), firewalls, upgrades, and much more!
- These instructions are intended specifically as an overview of Liquid Web's Account and Cloud Management Portal, called Manage.
The Create button of the Manage interface is where your journey to easier cloud hosting begins:
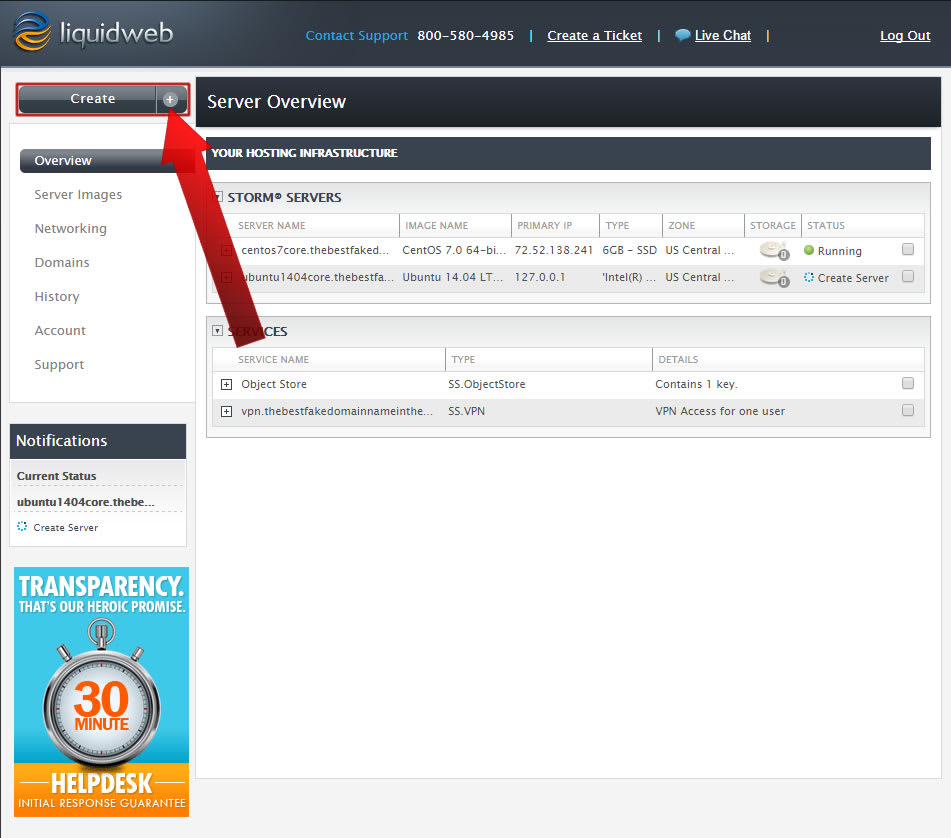
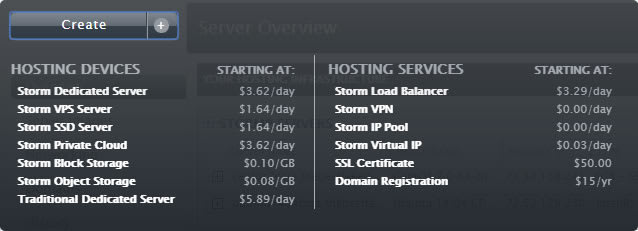
Many cloud servers and cloud-enabled services are listed under the Create button. The most popular services include: Cloud VPS (Virtual Private Server), Cloud Block Storage, and Cloud Dedicated Servers.
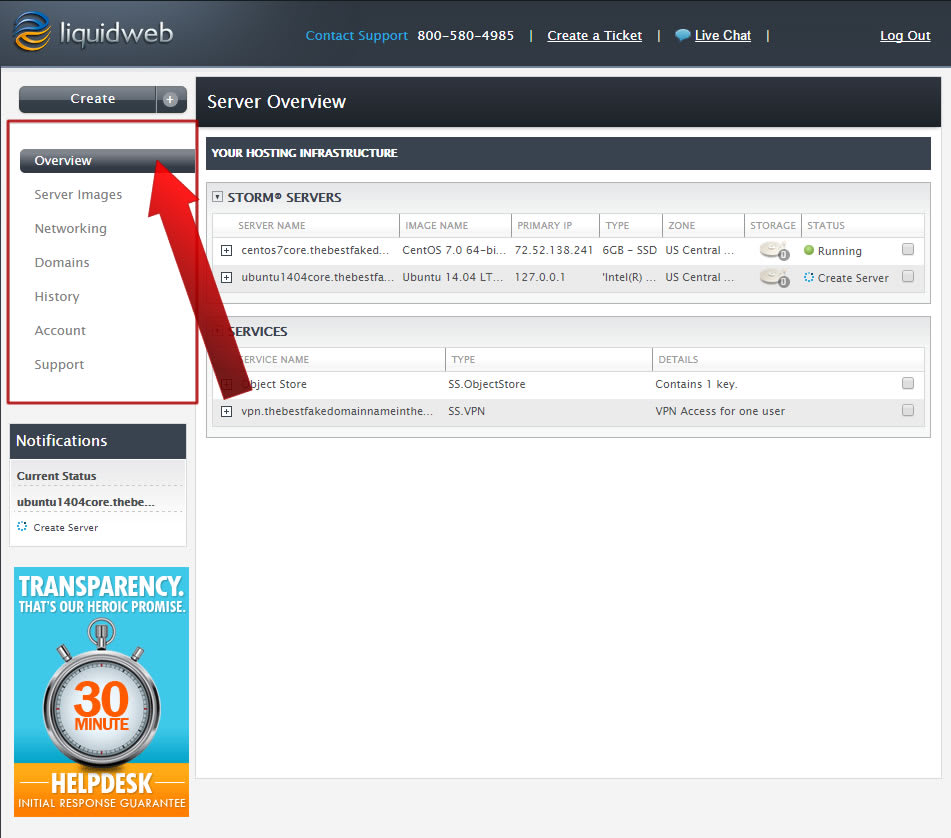
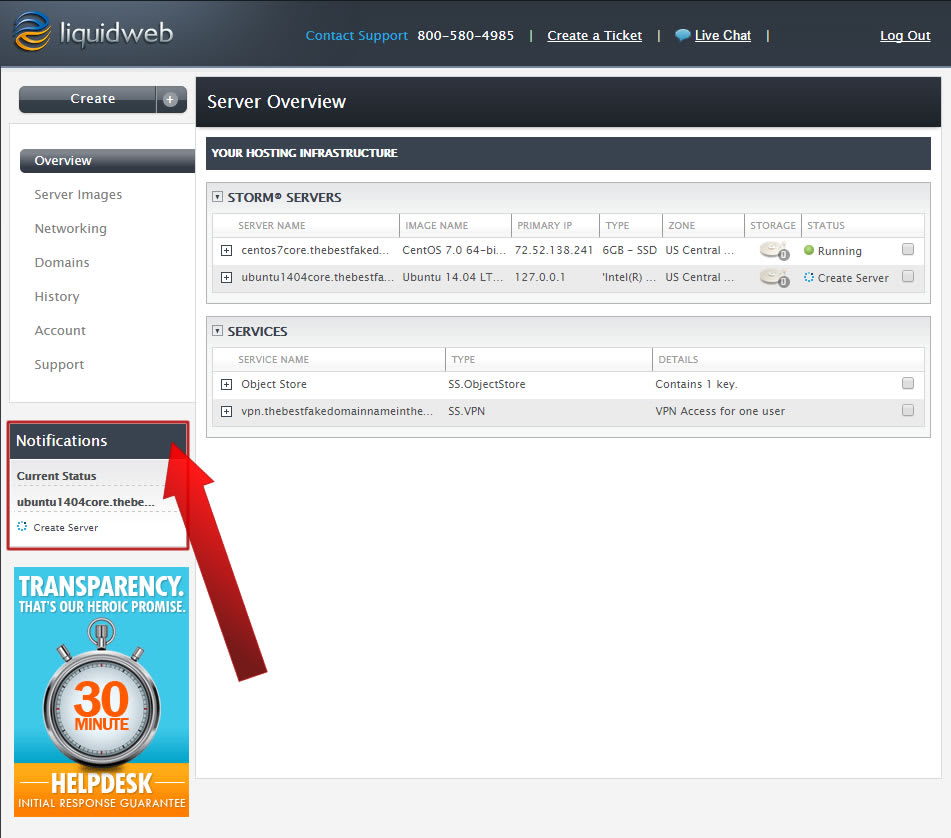
The Navigation for Manage is contained in the left sidebar, as shown below. Each section, Overview (the current page), Server Images, Networking, Domains, History, Account, and Support, will be detailed in future Knowledge Base tutorials. For now, here is a summary of each:
- Server Images: Lists all of your cloud server snapshots (images) in the Server Image Repository.
- Networking: Control your Storm® Firewall and your Storm® Private Network.
- Domains: Register, renew, and manage DNS for your domains.
- History: A detailed event history for your servers, services, and account.
- Account: Mostly billing related, but also contains information on authorized users and public SSH keys.
- Support: Engage with our 24/7 Heroic Support team!
This section is probably the most commonly used of all the core sections of Manage. The Server and Services Overview provides a dashboard that list all of your Storm® servers, such as Cloud VPS (Virtual Private Server) and Cloud Dedicated Servers, as well as Storm® services, such as Cloud Block Storage and your Cloud VPN.
At a glance you see rows of servers, each of which contains: the server name, image name, primary IP, server type, the zone in which the server resides, and most important the server's status.
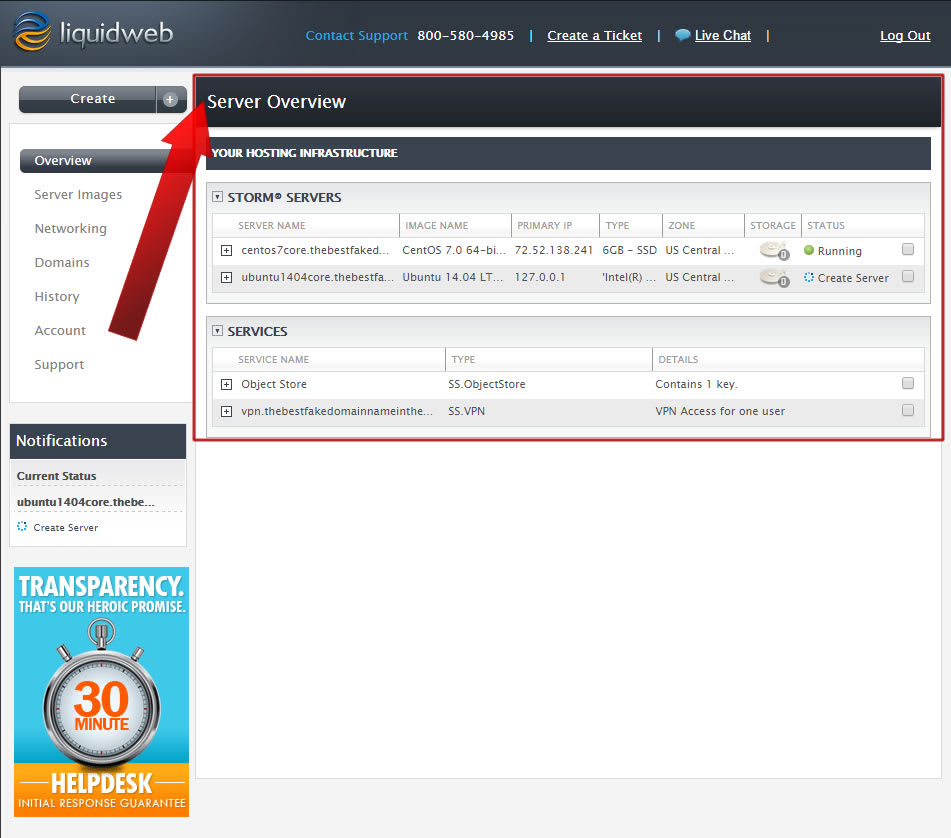
Every time a you create, resize, upgrade, destroy, or image a server the status of the process will be shown in the notification section.
Related Articles:


About the Author: J. Mays
As a previous contributor, JMays shares his insight with our Knowledge Base center. In our Knowledge Base, you'll be able to find how-to articles on Ubuntu, CentOS, Fedora and much more!


Our Sales and Support teams are available 24 hours by phone or e-mail to assist.
Latest Articles
How to Clone a Drupal Site to Another Domain
Read ArticleTop Eight Virtualization Security Issues and Risks
Read ArticleAccessing Man Pages on Ubuntu 16.04 LTS
Read ArticlePremium Business Email Pricing FAQ
Read ArticleMicrosoft Exchange Server Security Update
Read Article